2. Add the geometry
A simulation's geometry comes in two layers. Each uploaded file is a Part, and Runs use Assemblies, which are groups of Parts. You'll upload the front wing as a Part, then put it in an Assembly.
Create a Part Library
Parts are stored in Part Libraries, which work like folders.
- In the sidebar, under Setup & CAD, click Parts.
- Click New Folder.
- In the Create Part Library form, check that Programme is
DEMO, and enter the NameTutorial. - Click Create Part Library.
Upload the front wing
- In the Tutorial library's row, click Upload Parts.
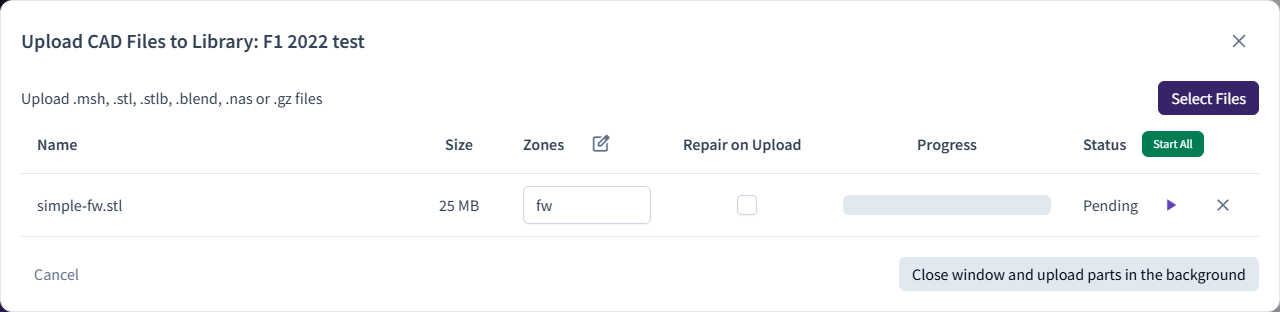
- Click Select Files and choose
front-wing.stlfrom the example data. - In the file's Zones box, enter
fw. - Click Start All.
The upload's Status changes to Complete. You can close the dialog while a large file uploads; it carries on in the background, and the cloud icon in the header shows its progress.
Why the zone name matters
An STL file doesn't store surface names, so you give the surface a zone name when you upload it. The Template
Case you'll add in the next step applies its settings and measures forces on every zone matching fw.*. Naming
the zone fw is what connects this geometry to that recipe.
If Start stays disabled with the message "Enter a valid zone", your Account's list of zone patterns doesn't
include fw. Click the edit button next to the Zones heading, then click Restore Default Zone Patterns
(or add fw) and Confirm.
Once the upload has finished, expand the Tutorial library to see the front-wing Part.
Create an Assembly Library and Assembly
- In the sidebar, click Assemblies.
- Click New Assembly Library, enter the Name
Tutorial, and click Create. - In the new library's row, click Create Assembly.
- In the Create Assembly form, check that Programme is
DEMOand Library isTutorial, then enter the DescriptionFront wing. The description is the Assembly's name. - Click Save.
Add the Part to the Assembly
- Click the Front wing Assembly to open it.
- Click Add Parts.
- In Add Parts to Assembly, set Programme to
DEMOand Part Library toTutorial. - Under Select Parts to Add, click
front-wing. It moves to Selected Parts. - Click Add Parts.
Checkpoint
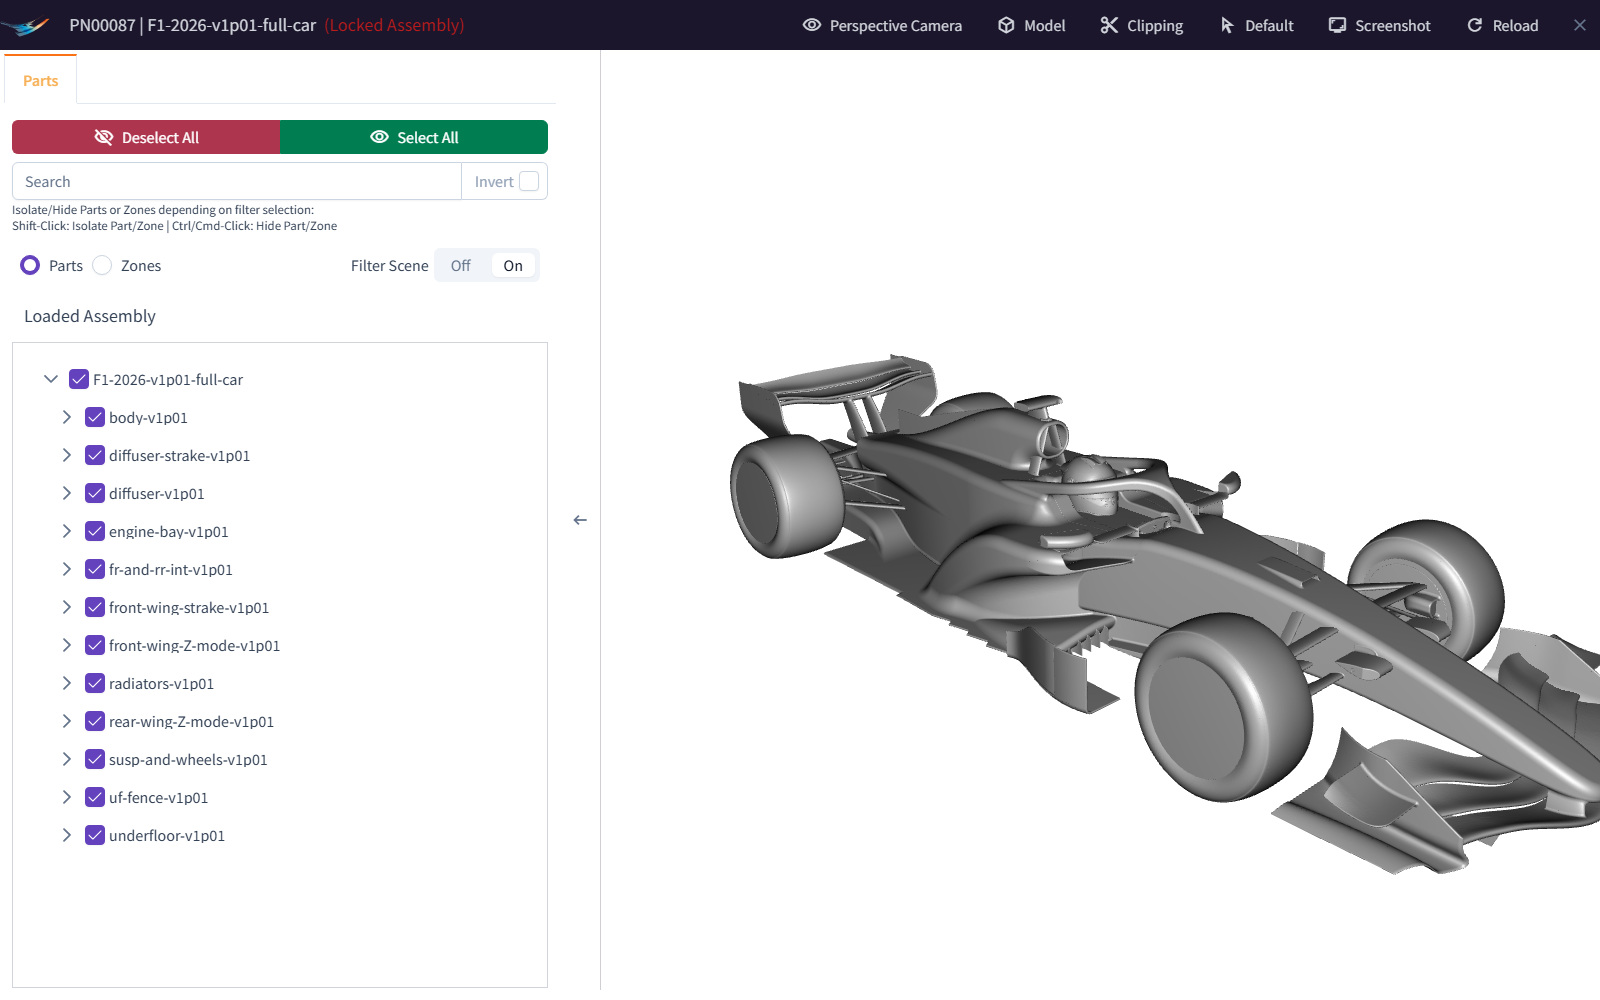
The Front wing Assembly contains the front-wing Part, and you can see the wing in the 3D viewer.
To learn more about Parts, zones and Assemblies, see geometry.