Create an Assembly
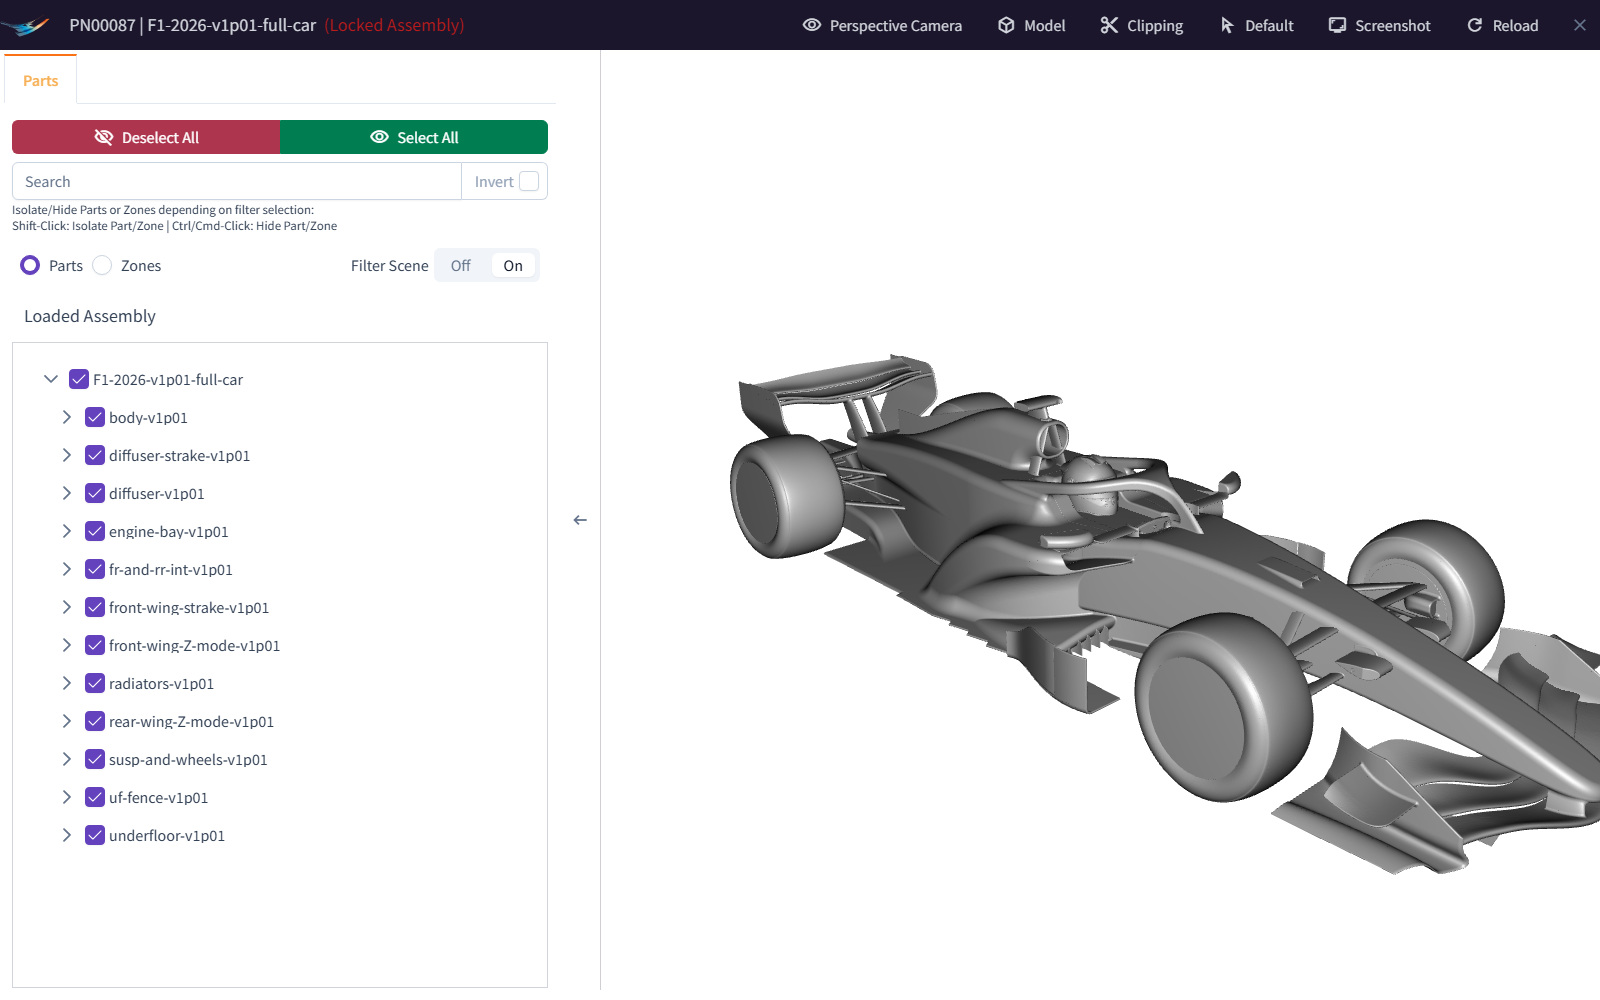
An Assembly is a group of Parts that you add to Runs. Assemblies are stored in Assembly Libraries.
Create an Assembly Library (if you need one)
- In the sidebar, under Setup & CAD, click Assemblies.
- Click New Assembly Library.
- In Create Assembly Library, choose the Programme and enter a Name.
- Click Create.
Create the Assembly
- On the Assemblies page, in the library's row, click Create Assembly.
- In Create Assembly:
- Programme and Library: change these if you want the Assembly somewhere else.
- Description: required. This is the Assembly's name. Up to 100 characters, unique within the library.
- Click Save.
Add Parts
- Click the Assembly to open it.
- Click Add Parts.
- In Add Parts to Assembly, filter by Programme and Part Library.
- Click each Part you want in Select Parts to Add. It moves to Selected Parts. Click it again to remove it.
- Click Add Parts.
Shortcut from the Parts page
On the Parts page, the Assembly icon in a Part's row creates an Assembly that already contains that Part. It goes in the Assembly Library with the same name as the Part Library.
Note
Add Parts is disabled on a locked Assembly.
Related: Upload Parts · Create a Run · Geometry